Ktor 프로젝트 생성하기
![]()
Ktor이란?
Ktor은 Kotlin으로 작성된 오픈 소스 웹 프레임워크이다. JetBrains에서 개발하고 유지 보수하며, 비동기 웹 애플리케이션과 마이크로서비스를 구축하는 데 사용된다. Ktor은 경량이면서도 강력한 기능을 제공하며, Kotlin의 간결하고 표현력 있는 문법을 활용하여 개발자들이 빠르고 효율적으로 웹 애플리케이션을 개발할 수 있도록 돕는다. 또한, 내장된 HTTP 서버를 사용하여 단독 실행 가능한 애플리케이션을 만들 수 있다.
시작하기
우선 공식 페이지의 Getting Started를 참고하여 첫번째 프로젝트를 만들어 볼까 한다.
신규 Ktor 프로젝트 생성
여기에서는 간단한 Ktor 애플리케이션을 만들고, 실행하고, 테스트하는 방법을 소개한다. Ktor 프로젝트를 새로 생성하는 방법은 IDE에 따라 방법이 다르다.
- IntelliJ IDEA Ultimate의 경우
- 전용 플러그인 사용
- IntelliJ IDEA Community 등 그 외의 경우
여기서는 웹 기반 프로젝트 생성기를 통해서 진행해 보도록 하겠다.
웹 기반 프로젝트 생성기
먼저 Ktor Project Generator으로 이동하여, 아래와 같이 설정한다.
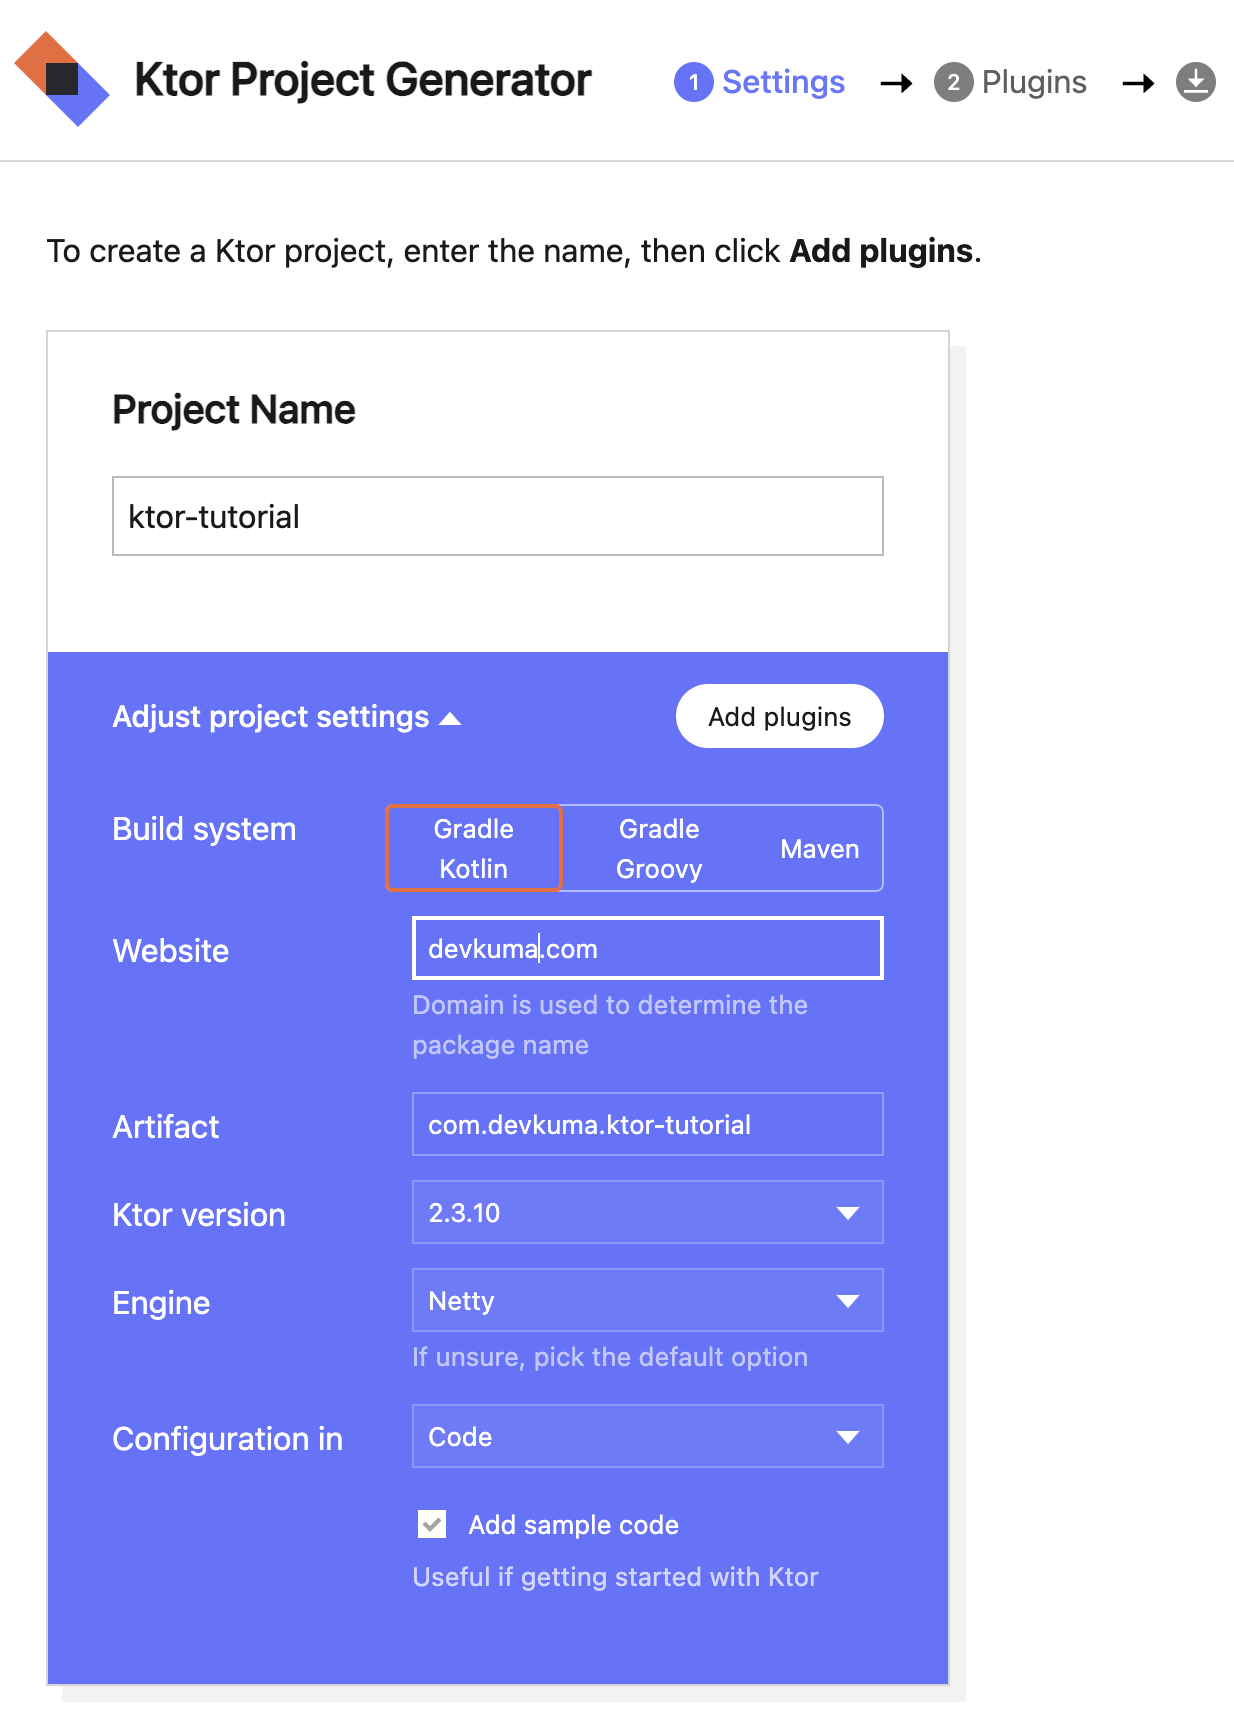
여기에서 프로젝트 이름 외에는 기본값으로 넣어도 상관 없다. 설정이 끝나면 “Add plugins” 버튼을 누른다.
다음 화면에서는 플러그인 세트를 선택할 수 있다.
플로그인 세트로는 시큐리티, 라우팅, HTTP, 모니터링, 직렬화, 콘텐츠 인코딩, 압축, 쿠키 지원 등 Ktor 애플리케이션의 공통 기능을 제공하고 있다.
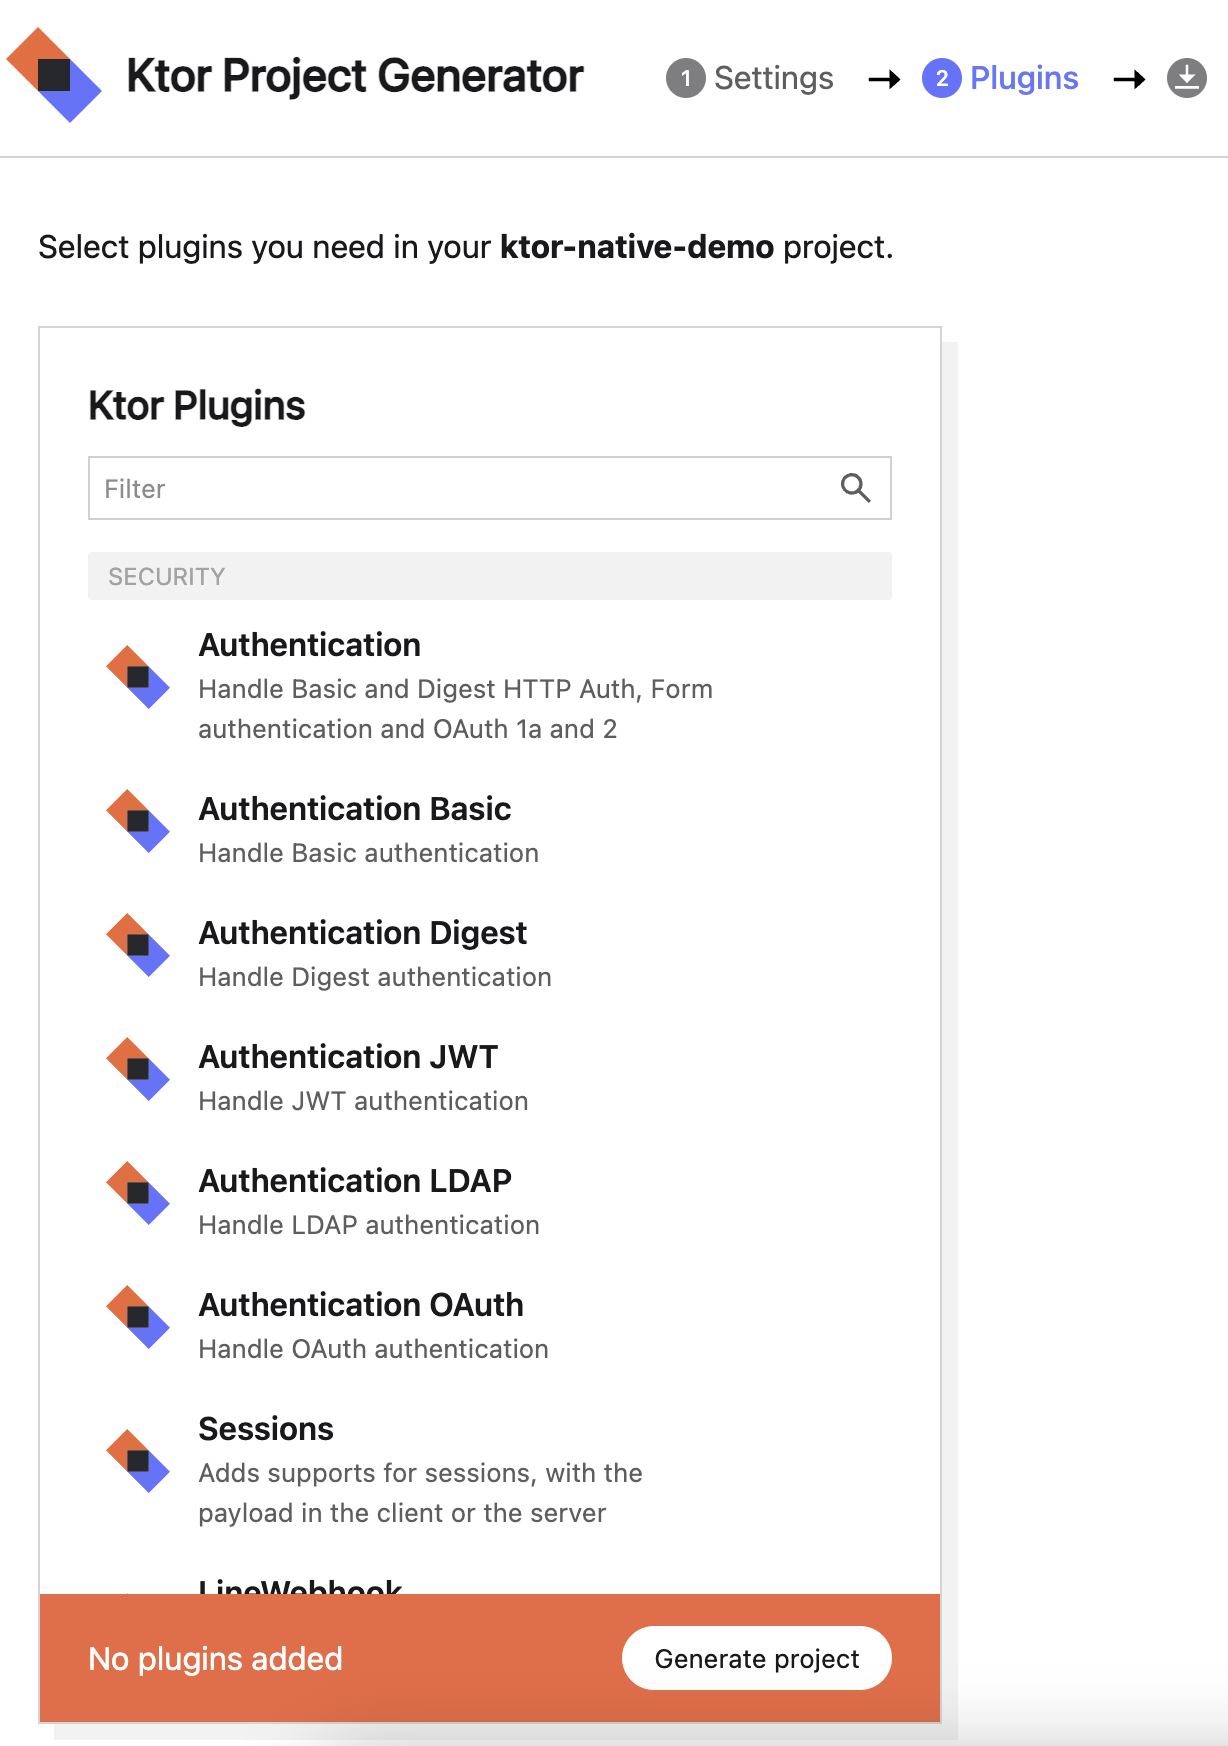
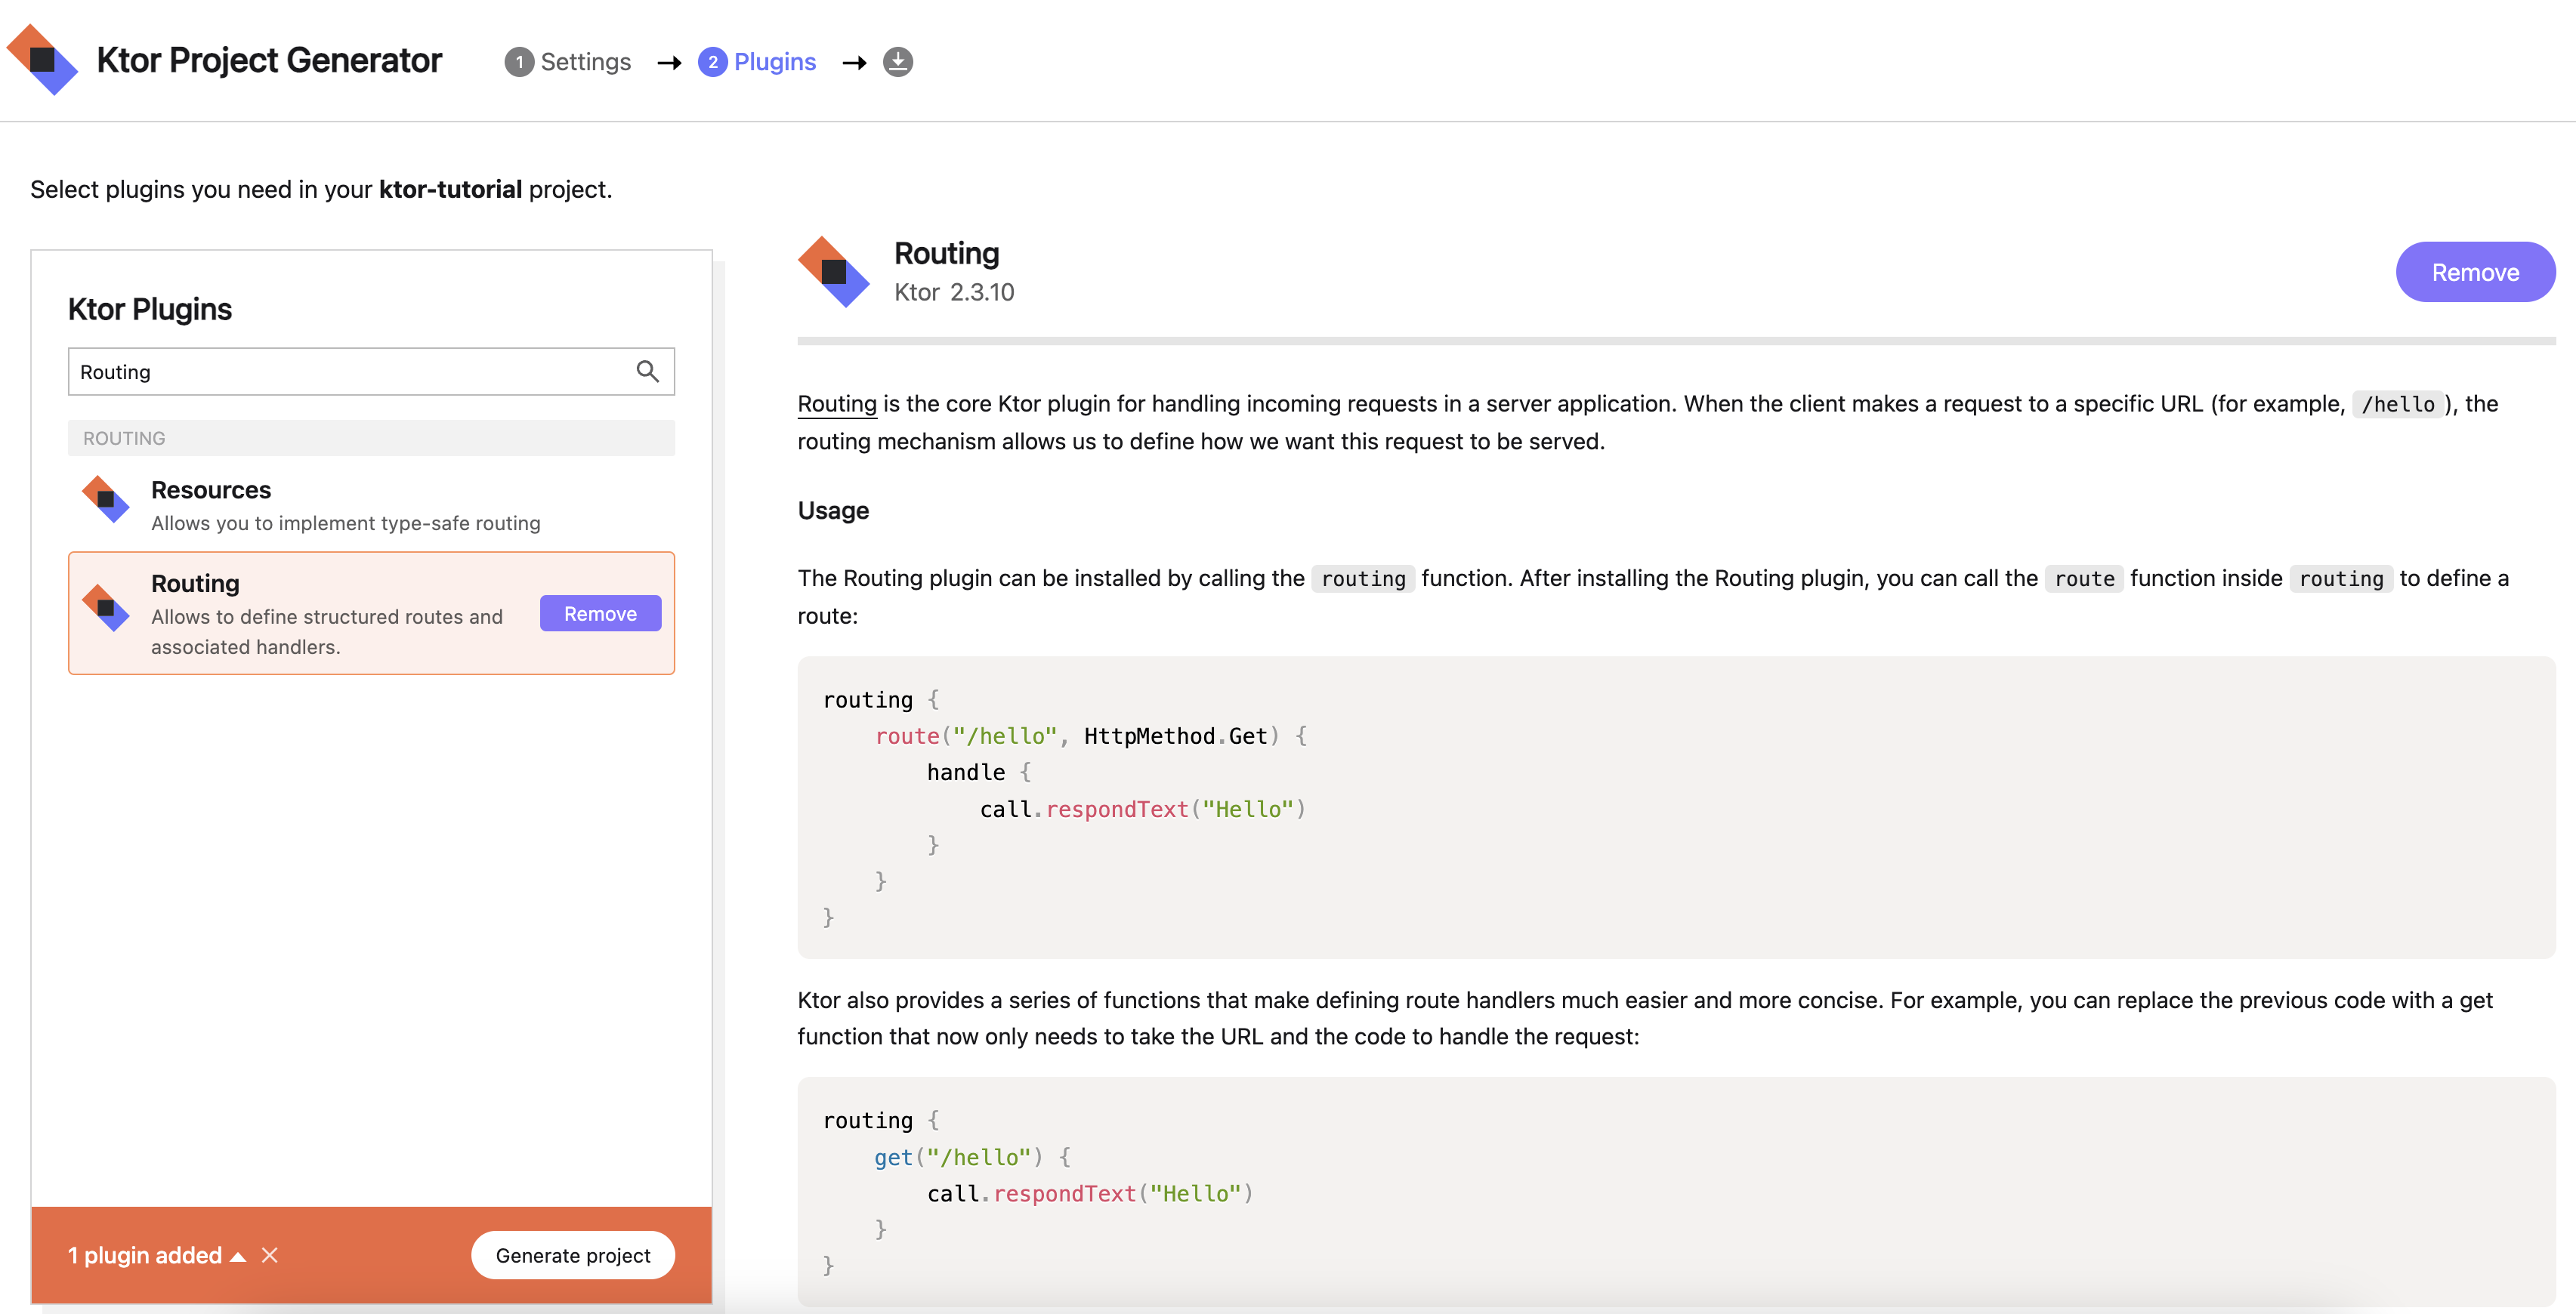
여기서는 공식 절차에 따라 “Routing"만 추가해 보자. Add 버튼으로 추가한 후 “Generate project” 버튼을 누른다.
그러면 zip 파일이 다운로드되고, 받은 파일을 압축을 풀어서 원하는 디렉토리에 넣는다. 그러고 생성한 ktor-tutorial 디렉토리를 확인해 보자. 파일 및 디렉토리 구조는 아래와 같다.
% tree
.
├── build.gradle.kts
├── gradle
│   └── wrapper
│       ├── gradle-wrapper.jar
│       └── gradle-wrapper.properties
├── gradle.properties
├── gradlew
├── gradlew.bat
├── settings.gradle.kts
└── src
    ├── main
    │   ├── kotlin
    │   │   └── com
    │   │       └── devkuma
    │   │           ├── Application.kt
    │   │           └── plugins
    │   │               └── Routing.kt
    │   └── resources
    │       └── logback.xml
    └── test
        └── kotlin
            └── com
                └── devkuma
                    └── ApplicationTest.kt

13 directories, 11 files
Ktor 애플리케이션 실행
IntelliJ IDEA에 프로젝트를 열고, 프로젝트 뷰에서 아래 경로에 있는 Application.kt를 열어본다.
src/main/kotlin/com/devkuma/Application.kt
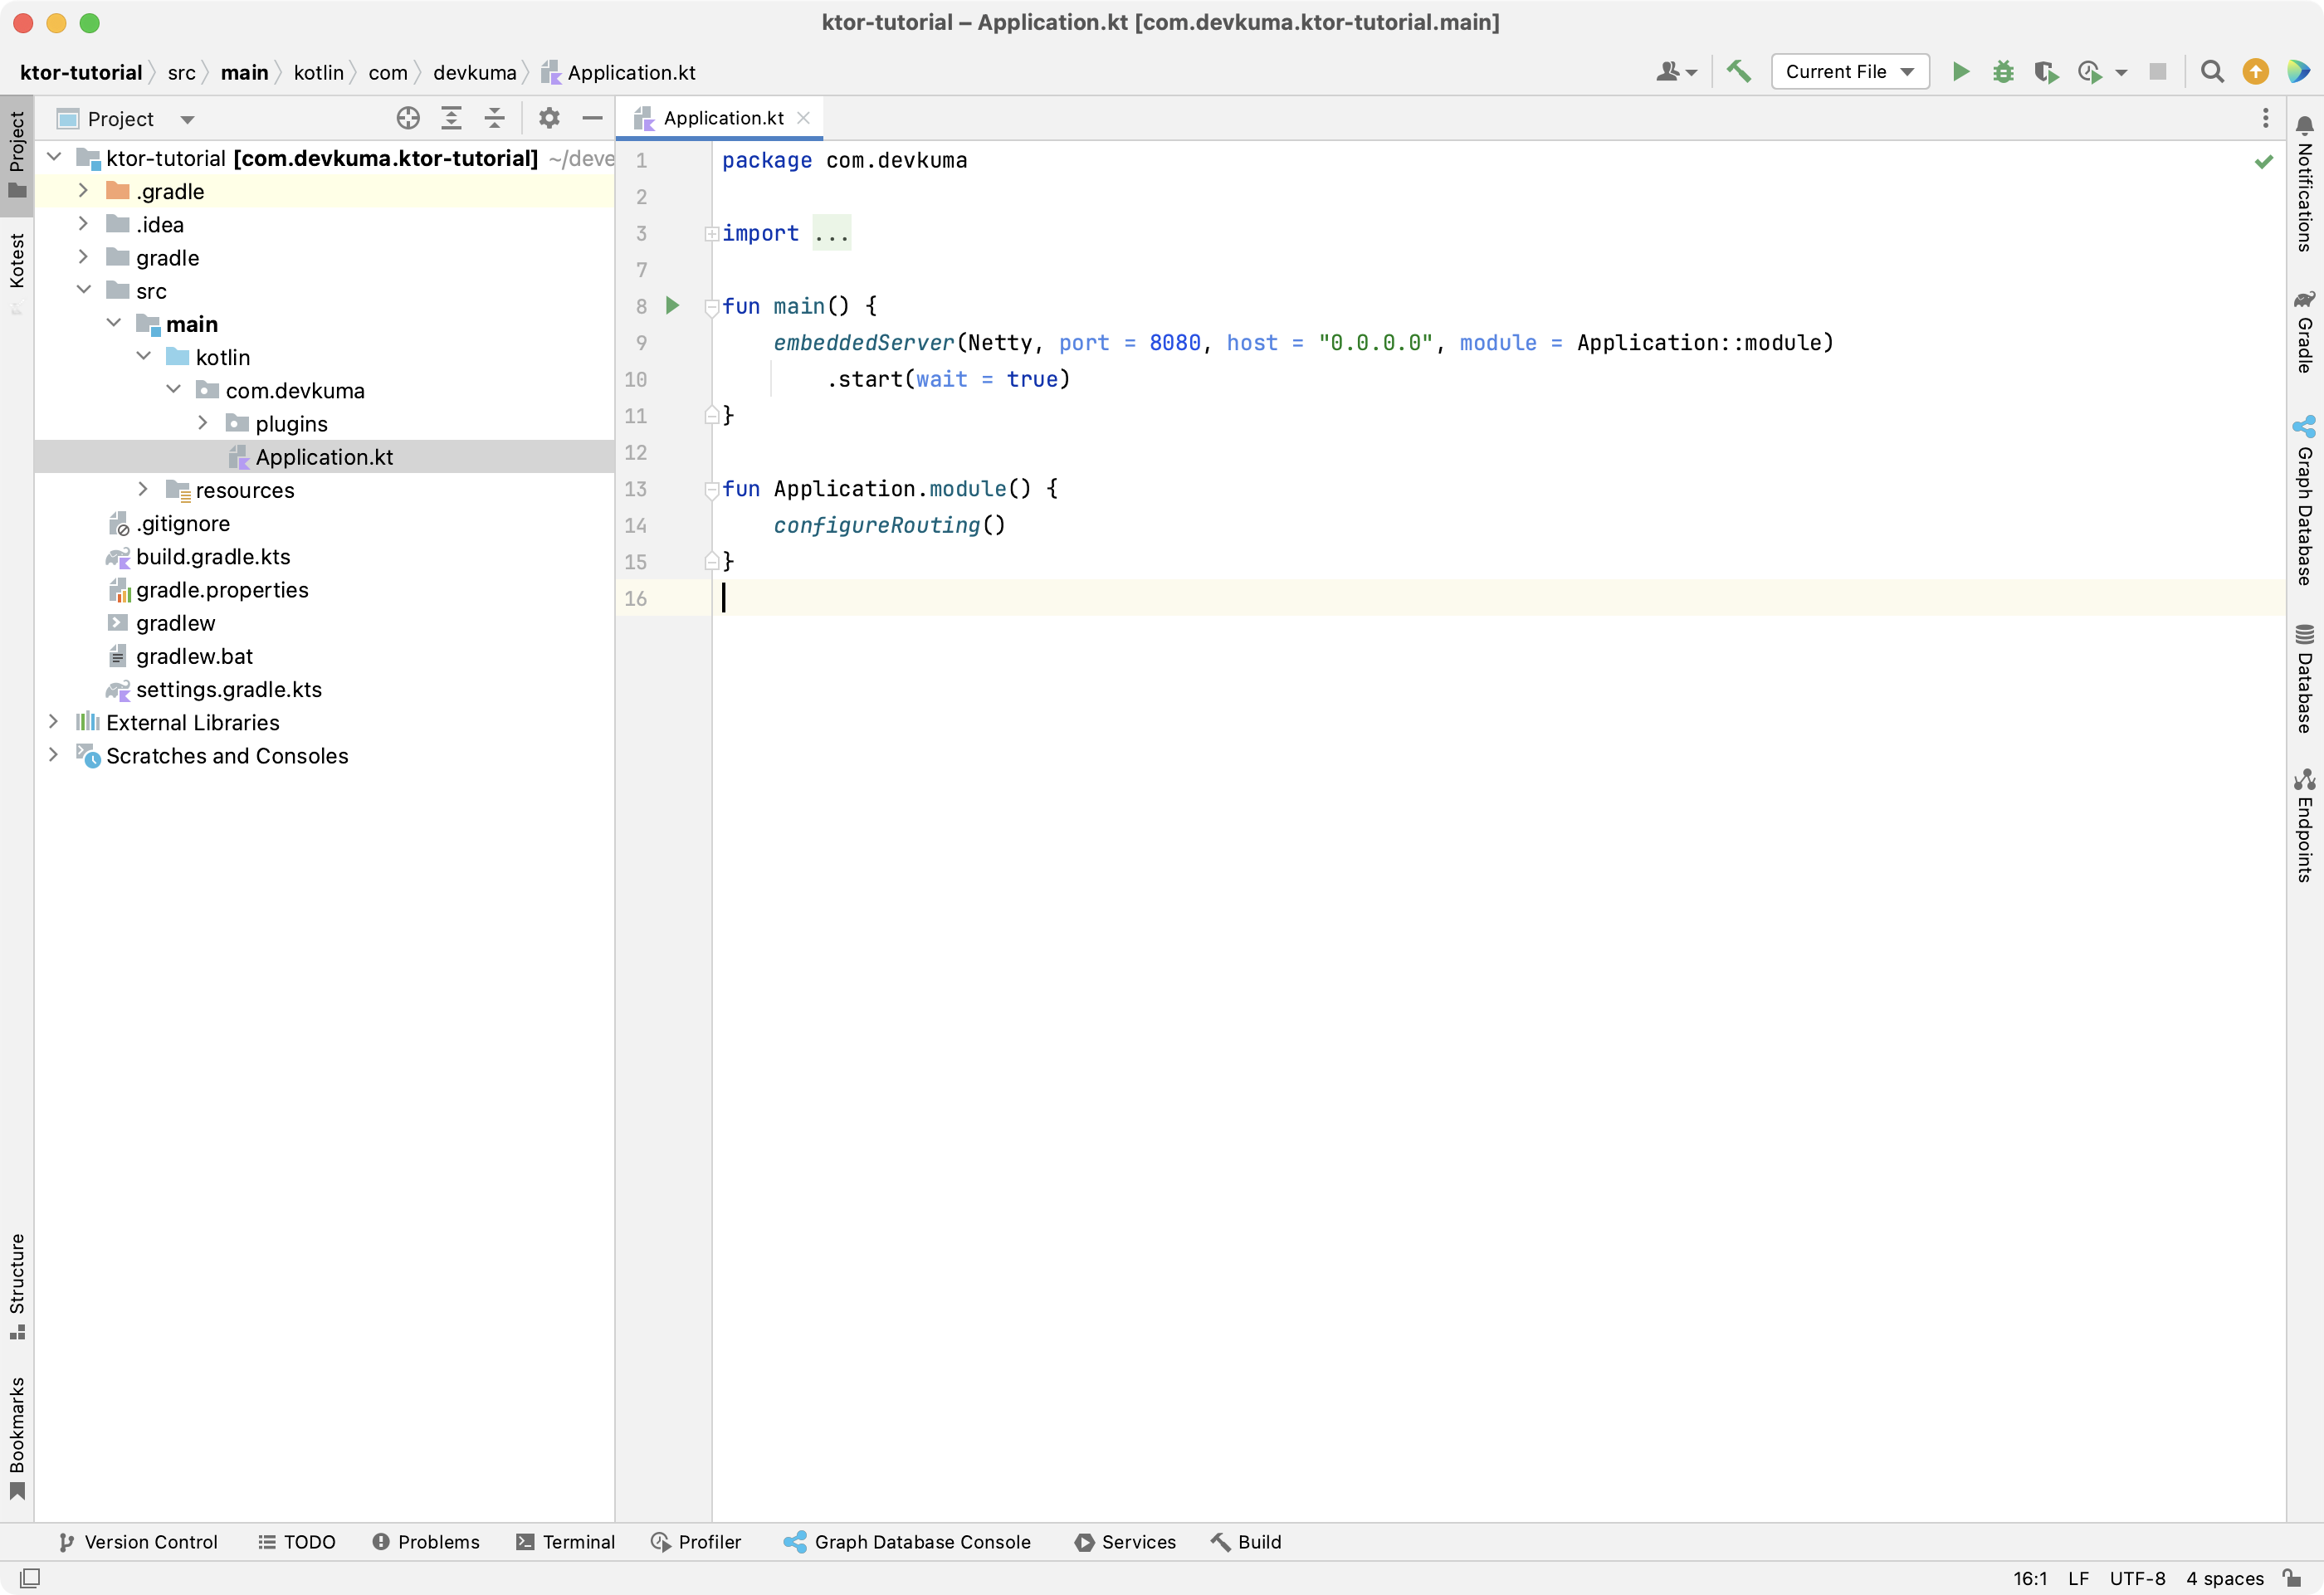
열리면, 아래와 같은 소스 코드가 있을 것이다.
package com.devkuma

import com.devkuma.plugins.*
import io.ktor.server.application.*
import io.ktor.server.engine.*
import io.ktor.server.netty.*

fun main() {
    embeddedServer(Netty, port = 8080, host = "0.0.0.0", module = Application::module)
        .start(wait = true)
}

fun Application.module() {
    configureRouting()
}
주요 포인트는 다음과 같다.
embeddedServer함수는 코드 내에서 서버의 매개변수를 설정하고 애플리케이션을 실행하는 데 사용된다.configureRouting는 라우팅을 정의하는 확장 함수이다. 이 함수는 plugins 패키지라는 별도의 패키지로 선언되어 있으며, 아래와 같은 코드로 되어 있다.
src/main/kotlin/com/devkuma/Application.kt
package com.devkuma.plugins

import io.ktor.server.application.*
import io.ktor.server.response.*
import io.ktor.server.routing.*

fun Application.configureRouting() {
    routing {
        get("/") {
            call.respondText("Hello World!")
        }
    }
}
그런 다음 Application.kt의 main function으로 돌아가 실행 버튼을 누른다.
애플리케이션이 IntelliJ IDEA에서 실행될 때까지 기다리면 다음과 같은 로그를 확인할 수 있다.
[main] INFO  ktor.application - Autoreload is disabled because the development mode is off.
[main] INFO  ktor.application - Application started in 0.214 seconds.
DefaultDispatcher-worker-1] INFO  ktor.application - Responding at http://0.0.0.0:8080
메시지 내용보다 서버가 http://0.0.0.0:8000으로 요청을 받을 준비가 되었다는 것을 의미하기에, 실제로 브라우저를 통해 접속해 보자.
그러면 Hello World!로 표시가 되는 것을 확인 할 수 있다.

Ktor 애플리케이션 테스트
다음으로 기본으로 생성된 테스트 코드를 실행해 보도록 하겠다.
아래 경로의 파일을 열어 보면, 자동을 생성된 테스트 코드를 확인할 수 있다.
src/main/kotlin/com/devkuma/ApplicationTest.kt
package com.devkuma

import com.devkuma.plugins.*
import io.ktor.client.request.*
import io.ktor.client.statement.*
import io.ktor.http.*
import io.ktor.server.testing.*
import kotlin.test.*

class ApplicationTest {
    @Test
    fun testRoot() = testApplication {
        application {
            configureRouting()
        }
        client.get("/").apply {
            assertEquals(HttpStatusCode.OK, status)
            assertEquals("Hello World!", bodyAsText())
        }
    }
}
여기서는 testApplication 함수를 호출하여, /에 GET 요청을 하고 응답의 상태와 내용을 확인하고 있다.
testApplication 함수를 실행하면 아래와 같은 로그를 확인할 수 있으며, 테스트가 성공적으로 완료되었음을 알 수 있다.
[Test worker @coroutine#1] TRACE i.ktor.client.plugins.HttpPlainText - Adding Accept-Charset=UTF-8 to http:///
[DefaultDispatcher-worker-1 @call-context#2] INFO  ktor.test - No ktor.deployment.watch patterns specified, automatic reload is not active.
[DefaultDispatcher-worker-1 @call-context#2] INFO  ktor.test - Application started in 0.015 seconds.
[DefaultDispatcher-worker-3 @coroutine#4] INFO  ktor.test - Responding at http://localhost:80
[DefaultDispatcher-worker-3 @coroutine#4] INFO  ktor.test - Responding at https://localhost:443
[DefaultDispatcher-worker-1 @request#2] TRACE io.ktor.routing.Routing - Trace for []

... 이하 생략 ...
마무리
이번에는 Ktor의 표준 튜토리얼을 통해 Hello World! 를 확인할 수 있었다. 테스트 코드도 기본으로 제공된다는 점과 라우팅 코드도 직관적으로 이해하기 쉽게 작성되어 있다는 것이 인상적이다.